Getting Started with OpticoBot
Install the Extension
Using the Chrome browser on your desktop, install the OpticoBot extension from the Chrome Web Store.
Install OpticoBotPin the Extension
Pin the OpticoBot extension to your browser toolbar for quick access by clicking the puzzle icon and selecting the pin next to OpticoBot.
Open the Extension
Navigate to RevolutionEHR or EyeMed Vision Care and click the OpticoBot icon in your toolbar to open the extension popup window.
Note: The extension will only work on either RevolutionEHR and EyeMed Vision Care. It does not work on any other sites.

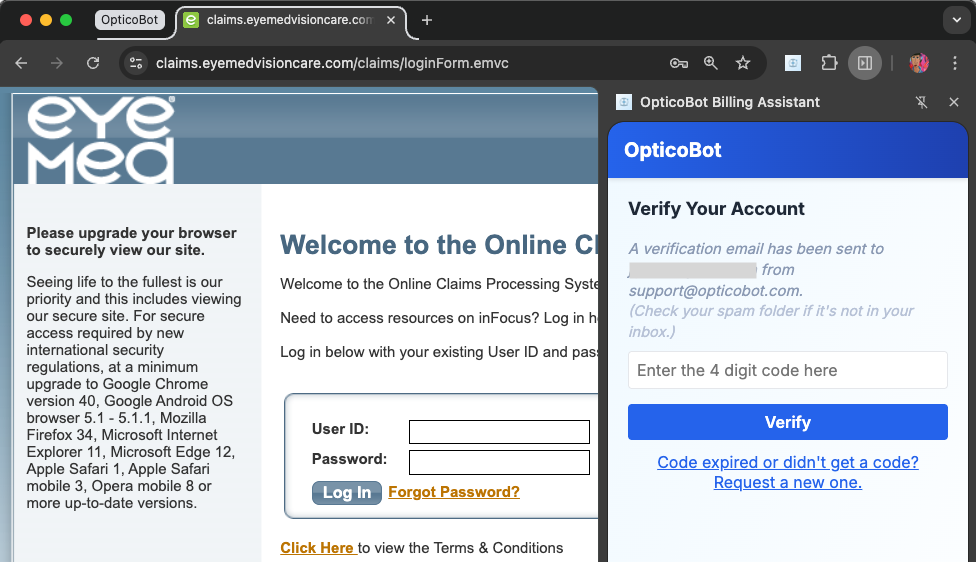
Register for OpticoBot
Enter your email address and click the "Register" button. You will receive a verification code to your email address from [email protected]. Enter the verification code and click the "Verify" button to complete the registration process.
Check your spam folder if you do not see the verification code in your inbox.
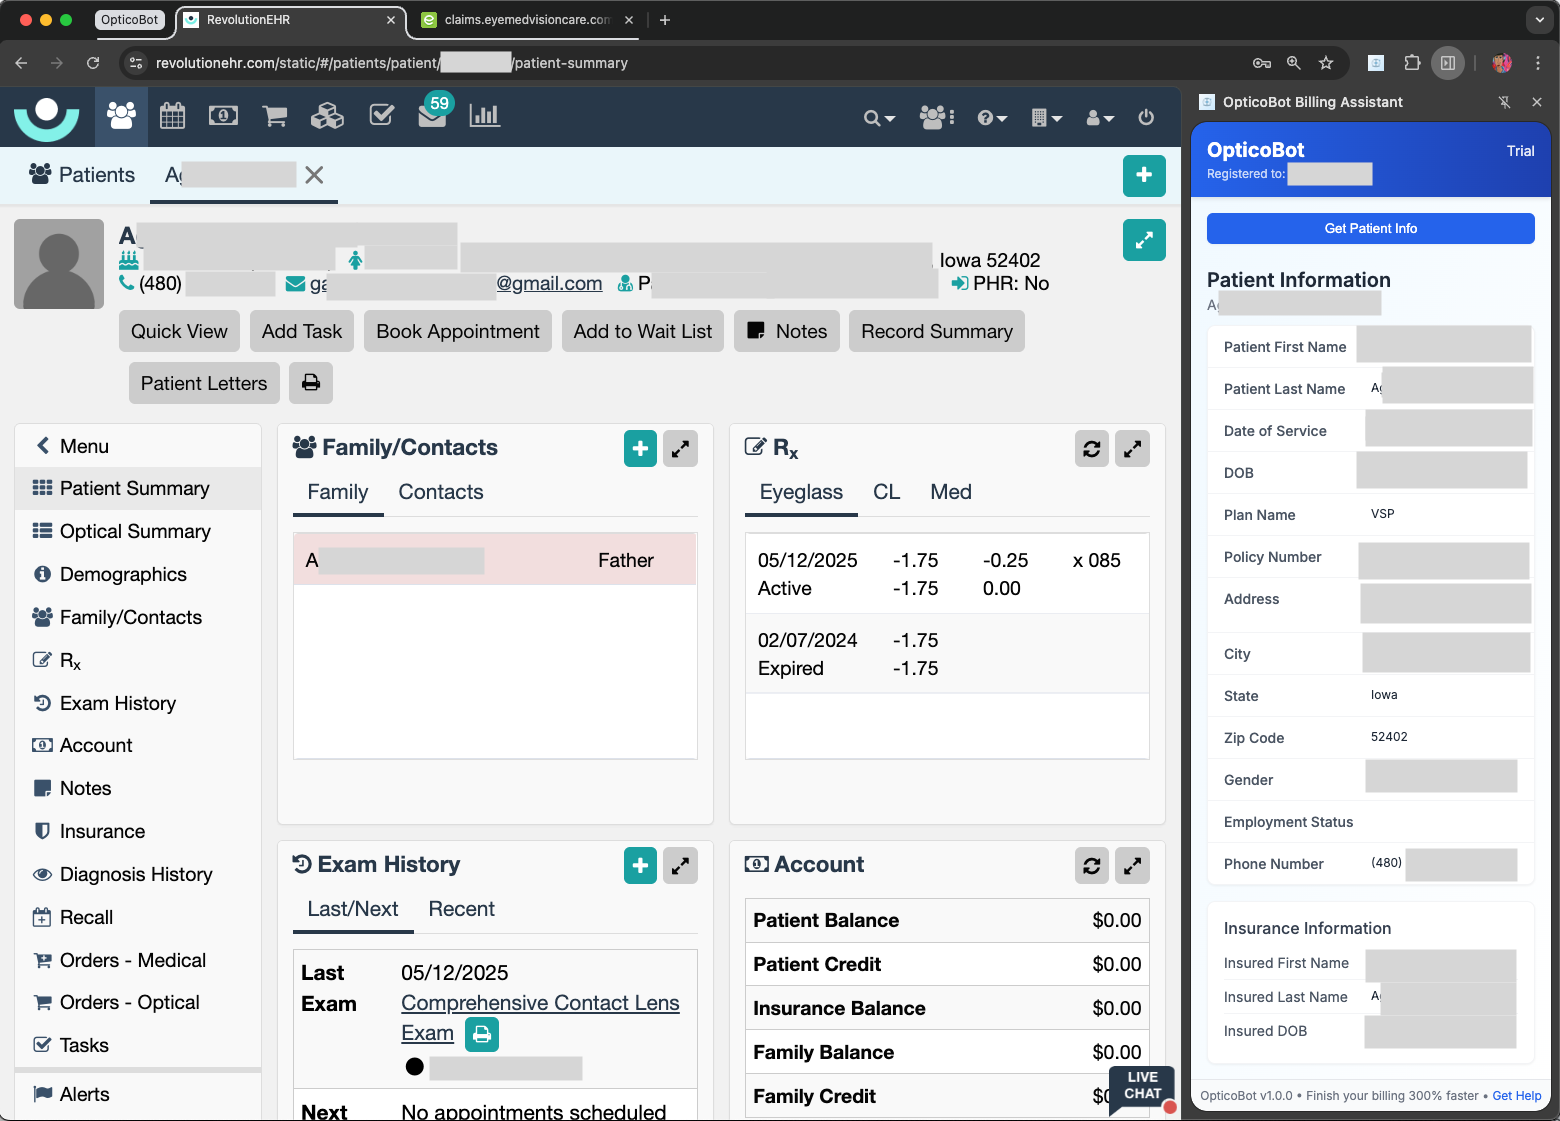
Copy Patient Information
Navigate to a patient in RevolutionEHR and click the "Get Patient Info" button. The patient information will now be visible in the OpticoBot extension popup window.
See tips on the type of data needed to be filled in to bill faster.
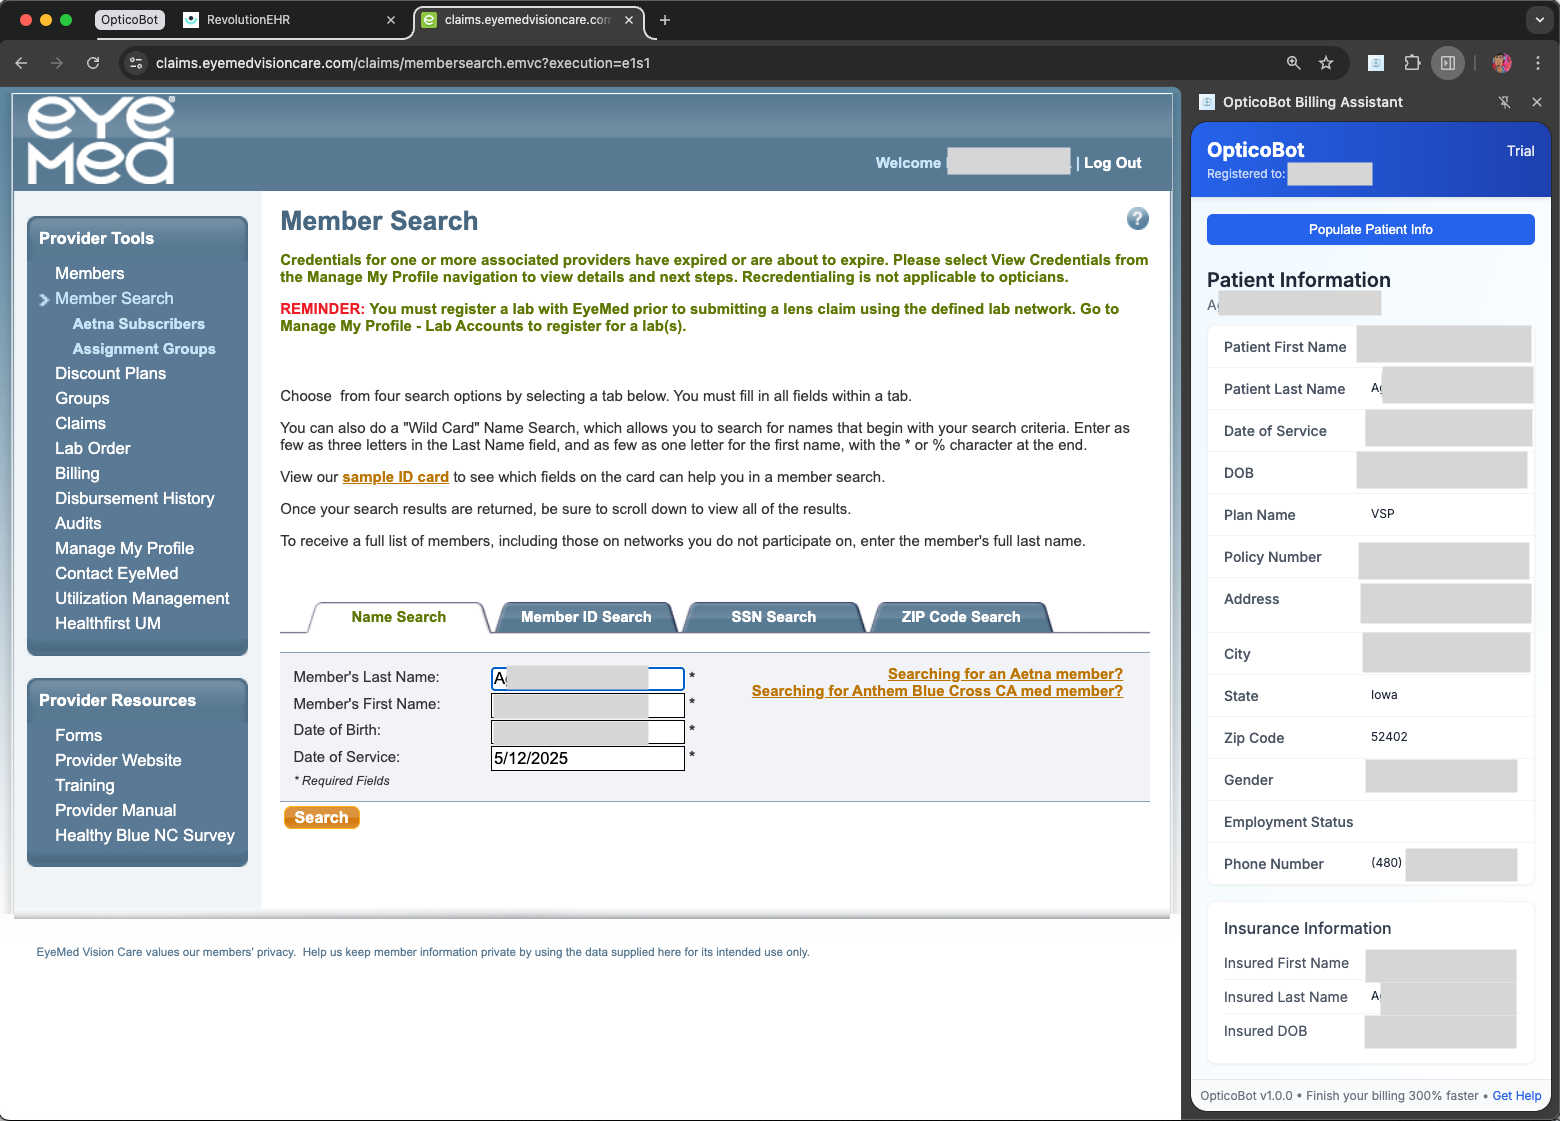
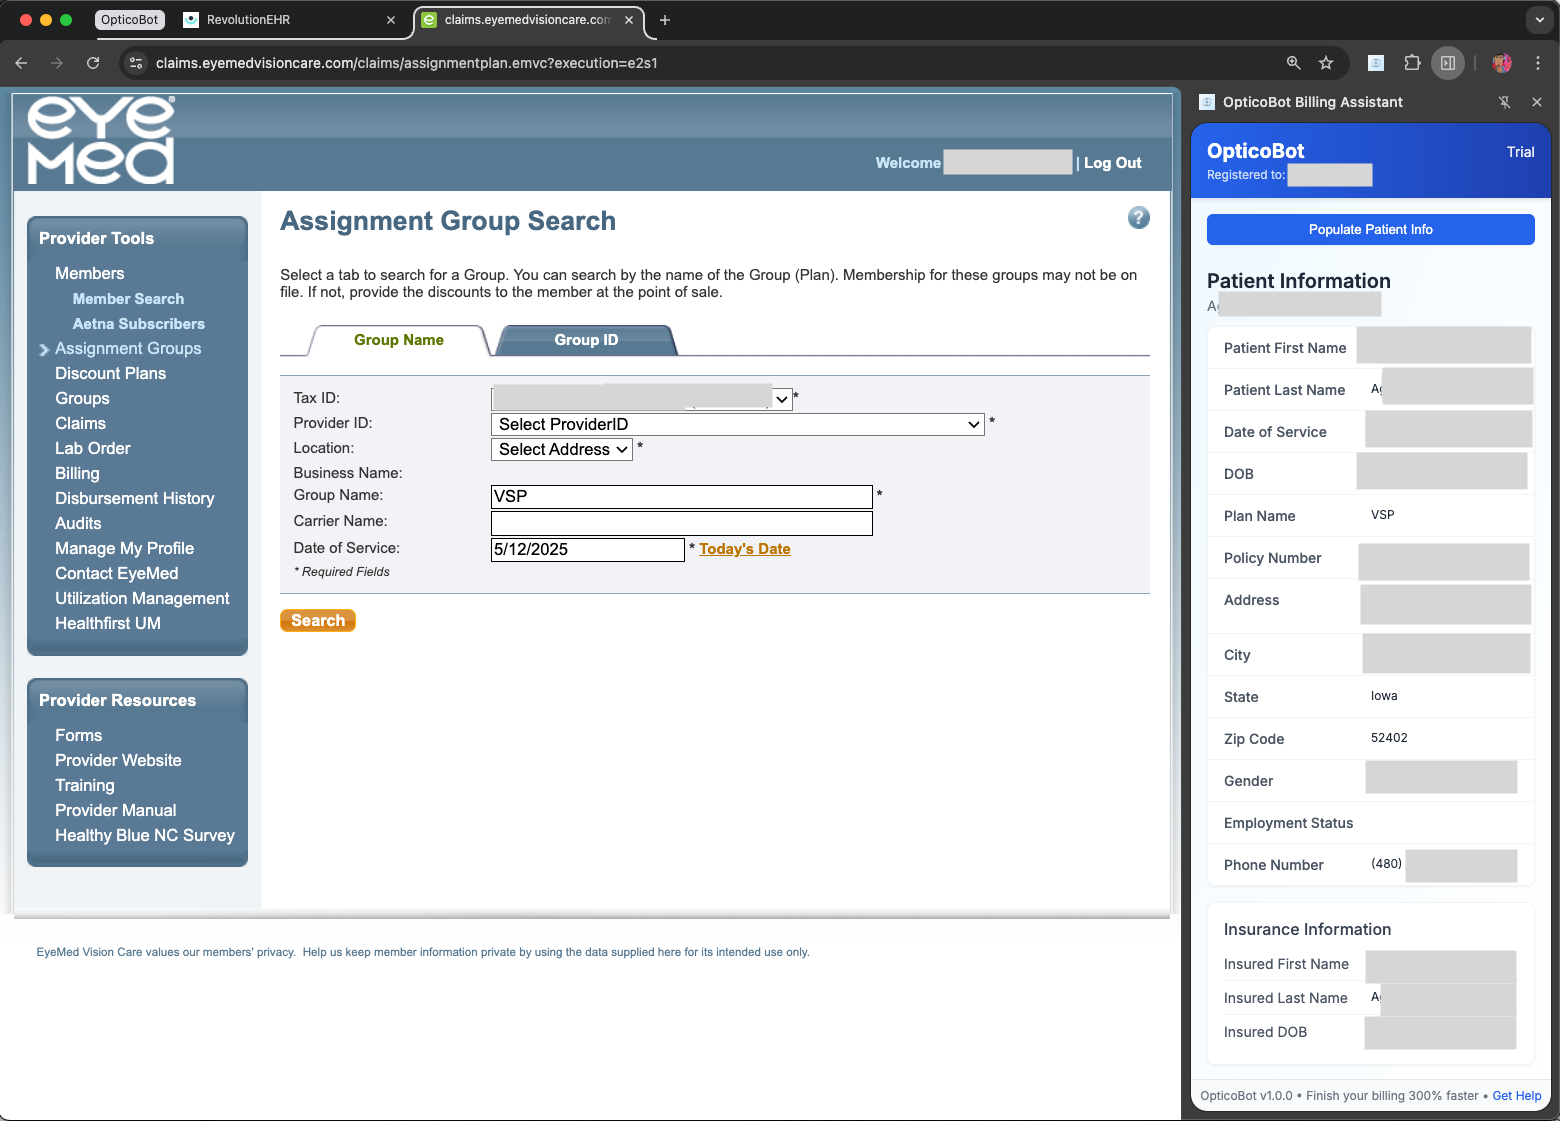
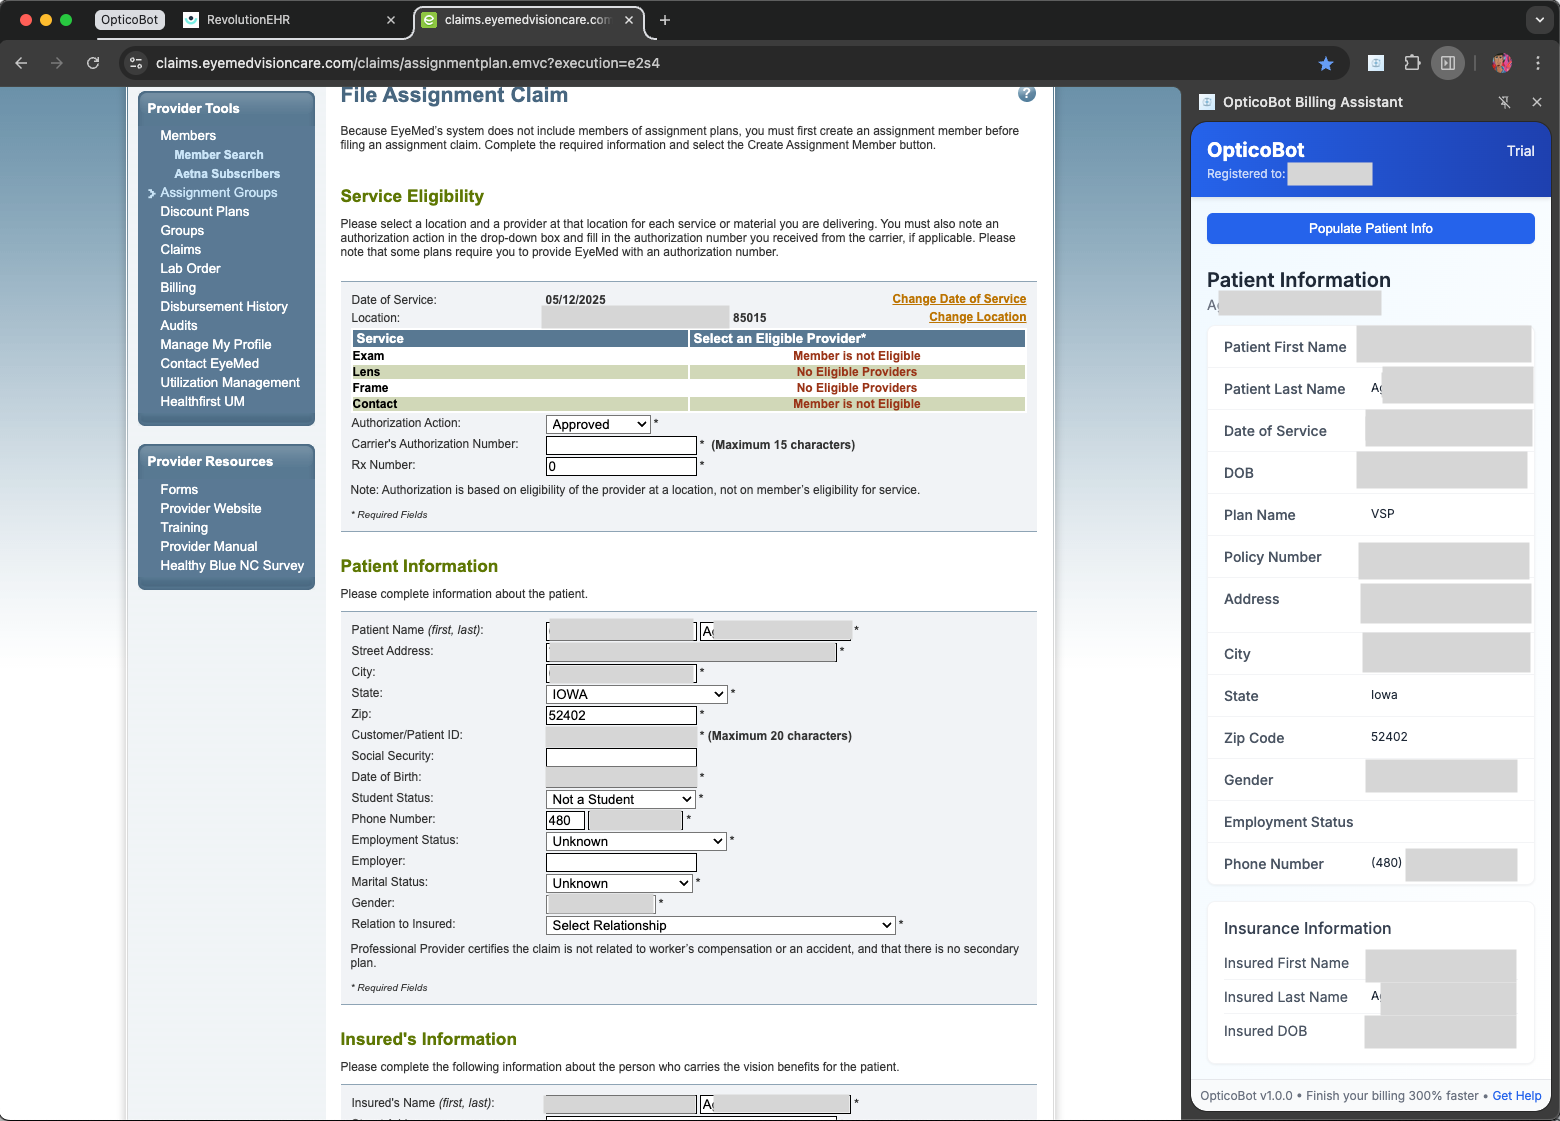
Populate EyeMed Forms
Navigate to the EyeMed site in another tab and populate patient information into the Member Search, Assignment Group Search, or File Assignment Claim pages with a single click.